
How to create and manage templates
Written by Nutcache Team
Updated
Overview
All project templates are grouped in one convenient place called My Templates. This module is the ideal place to manage your templates—edit them, select them, or delete them. The My Templates section lets you create, search for, and manage your templates in one place. From there, you can:
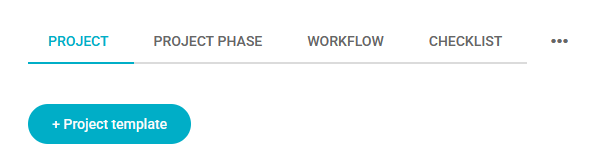
Browse templates by type using 4 tabs: Project, Project Phase, Workflow, Checklist.
Create a project template directly from the Template Center.
Create and manage template categories (Project tab).
Use, edit, disable, or delete your templates (depending on your permissions).
Who can use this feature?
Plan: Free and above
Permission: Members with Project Manager status and above can use this feature.
Where can I find this feature?
From the main left-hand menu, open the Template Center.
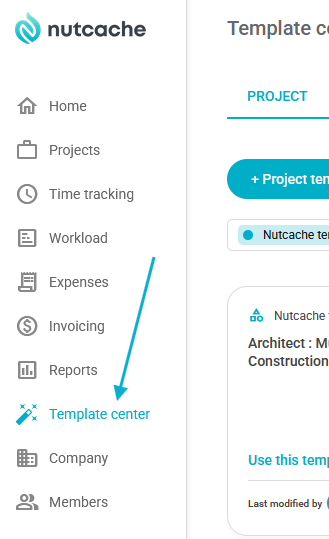
How to use the My Templates section
1) Navigate between tabs
The module is divided into 4 tabs:
Project: Project templates (including categories and Nutcache templates)
Project phase
Workflow
Checklist
Each tab displays only templates of its type:
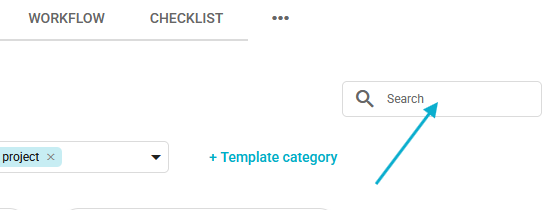
2) Search for a template
In each tab, use the search bar (top right) to find a template by name.
3) Filter project templates by category
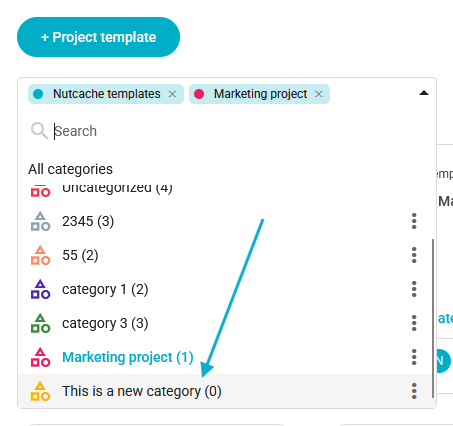
In the Project tab, use the Select a template category dropdown.
Category order:
All categories
Nutcache templates
Uncategorized
All other categories (alphabetical order)
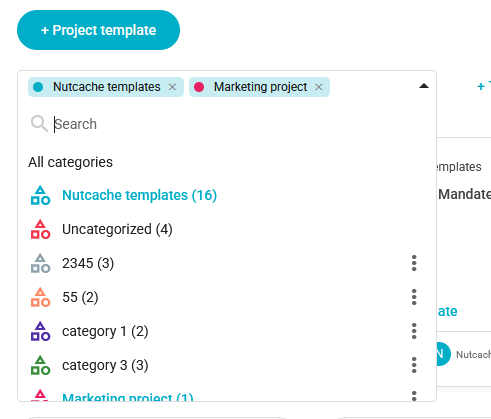
Filter behavior:
All categories is selected by default.
If you remove a category while All categories is selected, All categories is automatically turned off.
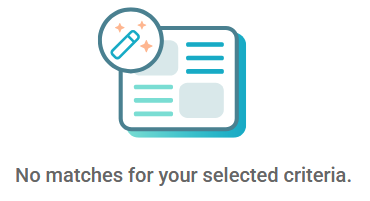
If no category is selected, no templates are shown and you will see No templates found.
4) Create a template category
Go to My Templates > Project.
Click + Template category.
In the New category window:
Enter a Category name (required).
Choose a Color (a color is suggested automatically, but you can change it).
Click Save.
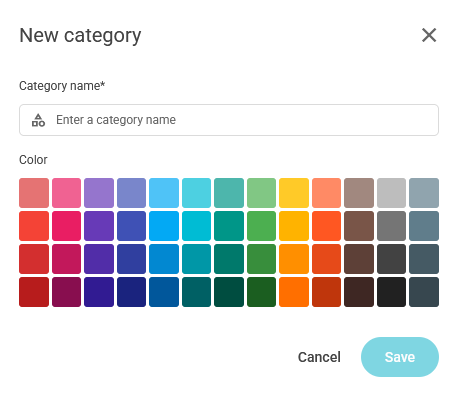
The category will then appear in the category filter.
5) Create a project template
Go to My Templates > Project.
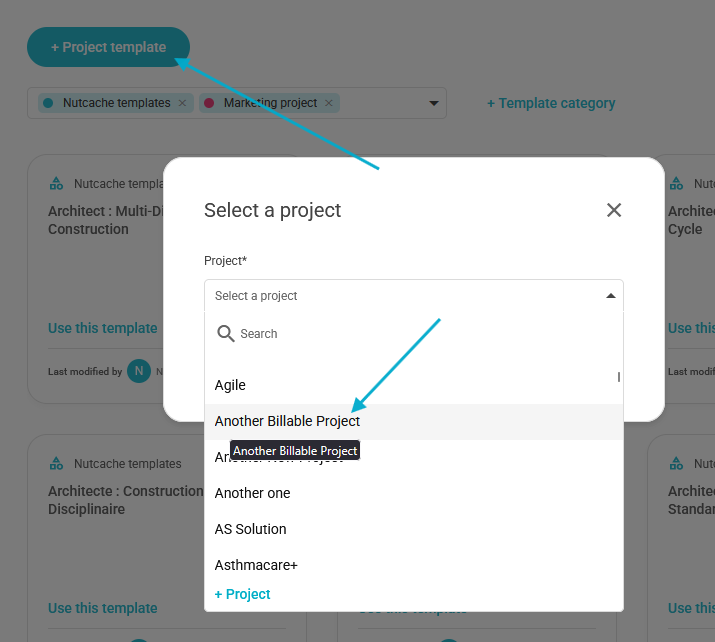
Click + Project template.
In the Select a project window:
Open the Select your project list.
Select a project (required to enable Continue).
Use search if needed.
To create a new project, click + Project.
Click Continue.
The Save project as template window opens (pre-filled). Adjust the information as needed, then save.
6) Use a template
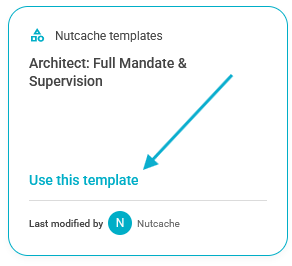
On a template card, click Use this template to create an item from that template (e.g., a project).
7) Edit, disable, or delete a template (if available)
For editable templates, the kebab menu (⋮) is visible on the card and lets you perform actions such as:
Edit
Delete
Deactivate
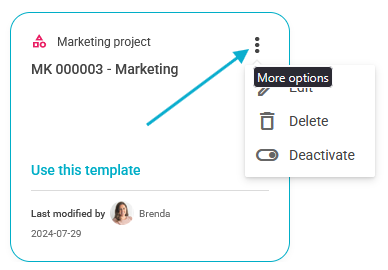
When a template is deactivated:
the Use this template link is removed
the card is greyed out
the template is moved to the end of the list
⭐ Important information ⭐
Nutcache templates (not editable)
In the Project tab, some templates are provided by Nutcache:
they can be used
but they cannot be edited or deleted
no souvlaki menu (⋮) is available
Protected categories
Some categories cannot be edited or deleted:
Nutcache templates
Uncategorized (visible only if at least one template has no category)
Naming rules
Project template names must be unique.
Category names must be unique.
A category name is limited to 100 characters.
A category linked to a template cannot be deleted.
Template sorting
Project tab (All categories):
Nutcache templates (alphabetical order)
Uncategorized (sorted by last modified)
Other templates (sorted by last modified; categories mixed)
Other tabs: sorted by last modified.
Troubleshooting
Can’t delete a category: it’s probably linked to a template or protected.
The Use this template button doesn’t appear: the template may be disabled.
No templates displayed: check your category filter (no category selected).
To learn how to use your templates, see the following article.
Need a hand?
Our team can help you find the answer.
Contact us